How To: Make a good slope soaring video
Successful slope video capture is a subject near and dear to my heart. Like flying, there’s always more to learn and improve. It can become a hobby unto itself!
First off, the best way to get compelling slope soaring video is to have a camera person film you, using some sort of handheld camera with optical zoom capability and image stabilization. Ideally, the resulting video will show the glider clearly in the center of the frame, track it through its figures, and zoom in and out appropriately to capture the feeling of the moment. This works at all sites, whether the action is close-in or far away.
The challenge is that, although it’s pretty easy to source a camcorder or similar with optical zoom and image stabilization, finding someone who can use it effectively is not necessarily easy at all. Many people struggle to capture even half-decent video – it’s much harder to get smooth results filming than it might seem. You have to be able to spot the plane in the sky through the camera’s fold-out viewfinder screen, then track it, keep it centered in frame and zoomed appropriately, all while getting buffeted by the wind.
After nearly 15 years of shooting slope video, I’ve learned that this is a relatively rare skill. It takes the experience to “read” and anticipate what the pilot they are filming is doing, and the physical dexterity, reflexes and visual acuity to keep the glider in frame in a satisfying way. It’s just plain hard, similar in many ways to the challenge of flying the planes themselves.
Here’s an example of a recent video shot using a handheld camcorder:
One obvious solution which has been re-invented by countless R/C pilots is using some kind of head-mounted camera. The pilot then becomes the camera operator, and it actually works out tremendously well. As it turns out, our necks are some of the best camera mounts anywhere, capable of extremely smooth tracking.
In the past, pilots would modify hats and helmets with all variety of camera mounts. Some truly ungainly combinations resulted – the most uncomfortable I personally used was a full-face motorcycle helmet with a good-sized camcorder mounted to the top. The weight of the helmet and camera plus the wind drag made for a really stiff neck!
Here’s an old video from 2005 where I used strapping tape and a small piece of foam to attach a pocket digital camera to the strap of my baseball cap, which I wore backwards as I flew & filmed:
Today, the modern action cameras make this a lot easier. The GoPro -style headstrap serves as a very convenient solution, and one used by many pilots.
The only real “gotcha” with the head-mounted cameras is figuring out how to keep the plane in the camera’s frame. That’s a two part problem involving both keeping the plane more-or-less centered in-frame, while also keeping it big enough on-screen to be seen comfortably and impressively in the resulting video.
The first part is solved with careful pre-flight setup. It takes a bit of trial-and-error to figure out the appropriate aim point to capture your flying, but after a few tries you’ll figure out a setting that will get 95% or more of your typical flying in pretty much the center of the frame.
The second part is harder, especially with action cameras that typically don’t offer any zoom features. This is where the FOV (field of view) settings come in; you choose one appropriate to the type of site and flying you’re planning to do. With a GoPro, I use the “Medium” or (on newer models) the “Linear” setting for close-in sites like Ellwood, where the plane will mostly be flying within 25 yards or less. For other sites, where the planes will fly further and/or higher away, I use the “Narrow” setting. It’s not ideal, but it works OK.
Here’s a video with a GoPro Hero 5 Black on “Linear” setting:
Here’s a video with a GoPro Hero 2 on “Narrow” setting (modern GoPros are similar):
You can see that the “Narrow” setting, while serviceable, isn’t anywhere near as nice as a camcorder solution, i.e.:
So, the long and the short of it is that getting good video takes some experimentation. If you’ve got friends who are willing to give it a shot, you can make some really cool stuff of each other flying. Like I said, it’s a hobby unto itself. If you’re more of a lone ranger, you’ll probably want to try a GoPro and experiment with different settings till you get something that gives a result you can live with.
There are also some cool products in the pipeline, like the SoloShot, that show promise, using telemetry from a chip or card on the plane to keep a camera focused, tracking and zooming on the plane, but they’re not quite ready for primetime yet. And of course there are drone solutions, too, some of which are really cool (though which may require an even higher level of camera operator competence in a slope environment).
A couple of add-on comments about camcorders:
Autofocus
Autofocus has always been bad at figuring out what is a plane, what is a cloud, and what is blue sky, especially in a fast-paced situation with rapidly changing backgrounds (i.e. typical slope glider flying). So, in addition to optical zoom and image stabilization, you’ll want to make sure your prospective camcorder has a manual focus (MF) option you can turn on. Enable this mode, then point the camera at the furthest, most distant static object you can see. Wait for the camera to focus on this, then lock the manual focus on this point. You’ve now essentially set the camera focus to “infinity”, and while this won’t give you sweet depth of field effects, it will ensure the glider stays in focus. There’s nothing worse than having the plane dead-center in frame, doing an awesome trick, and totally blurry because the stupid autofocus is kooking out.
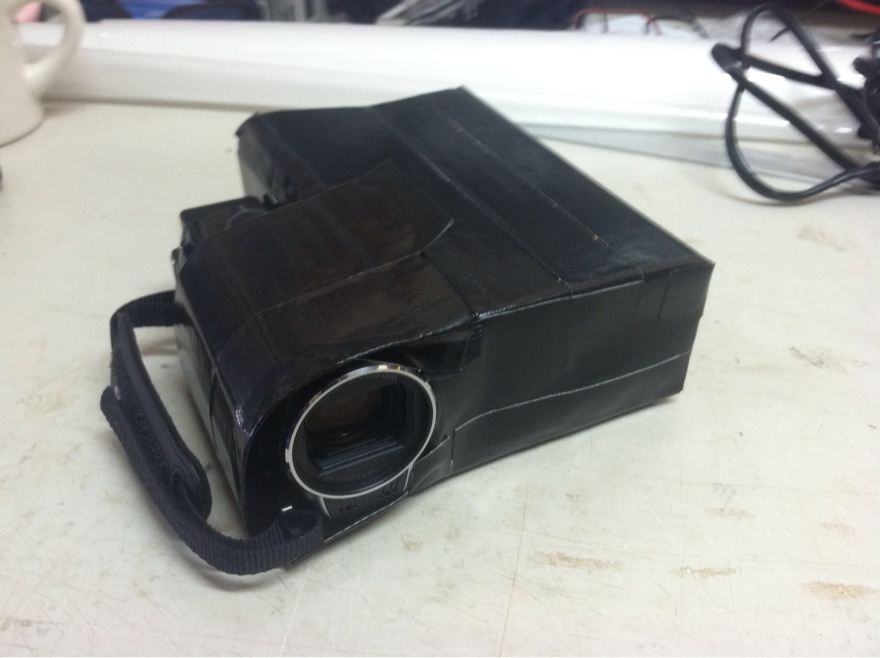
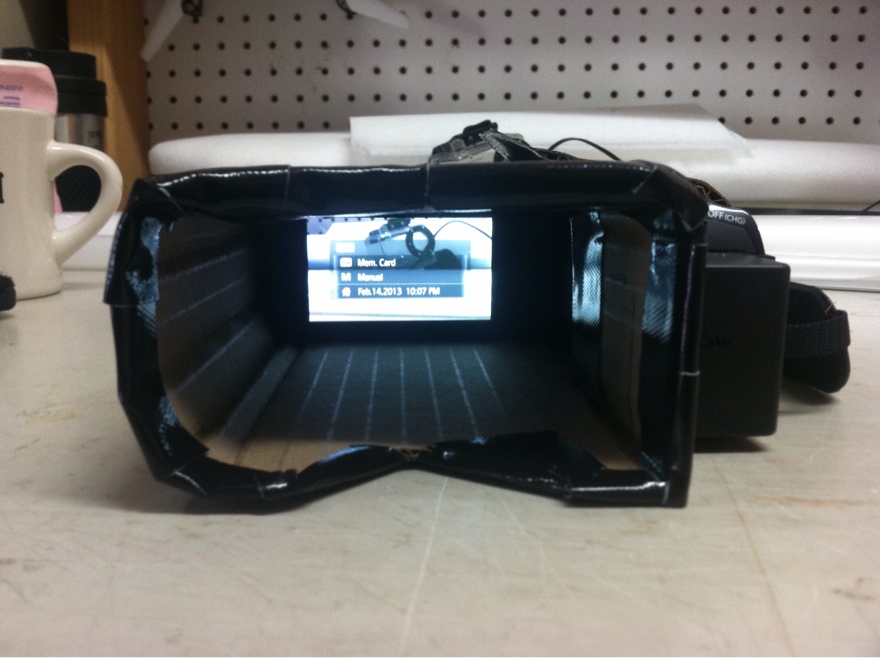
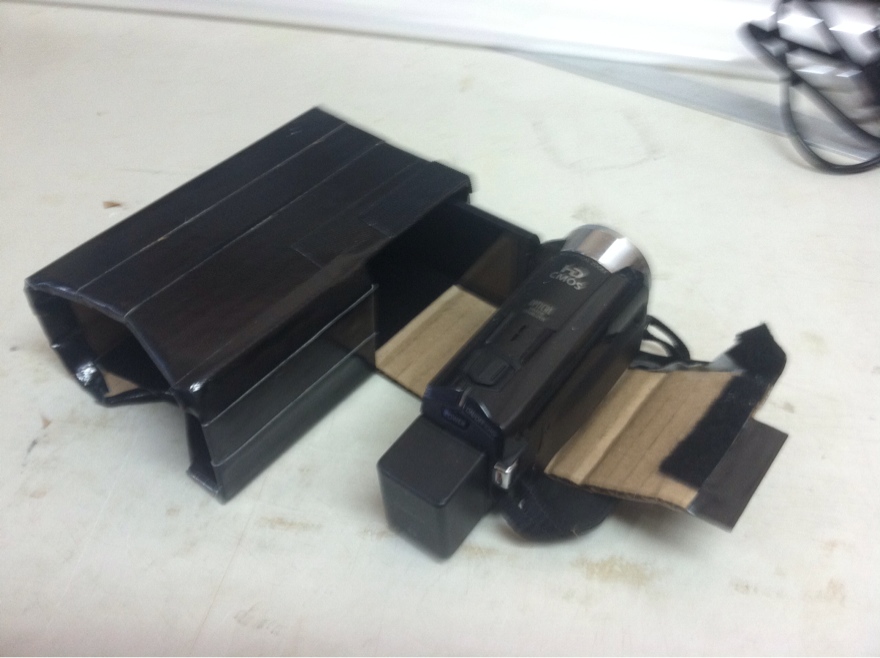
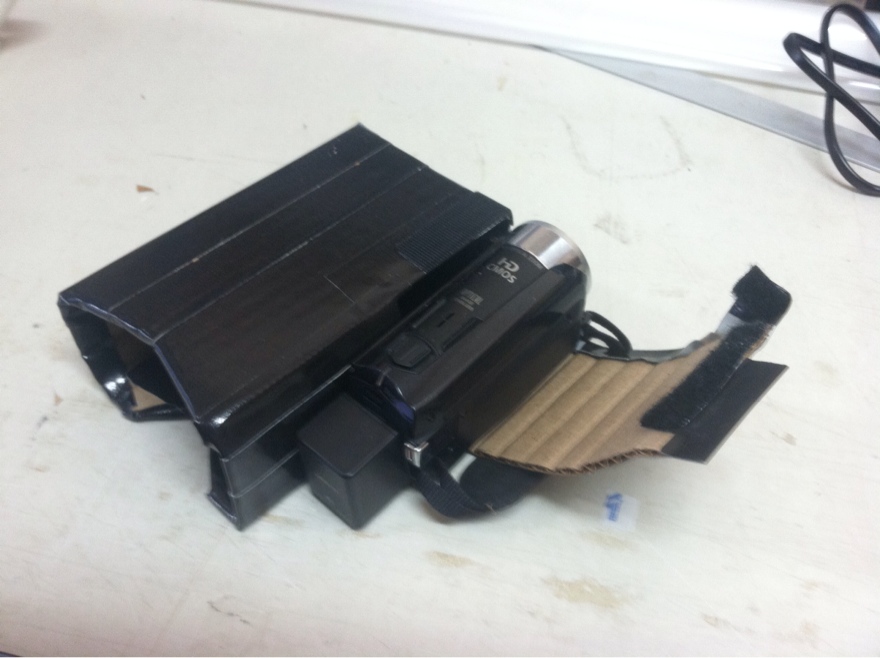
Housings
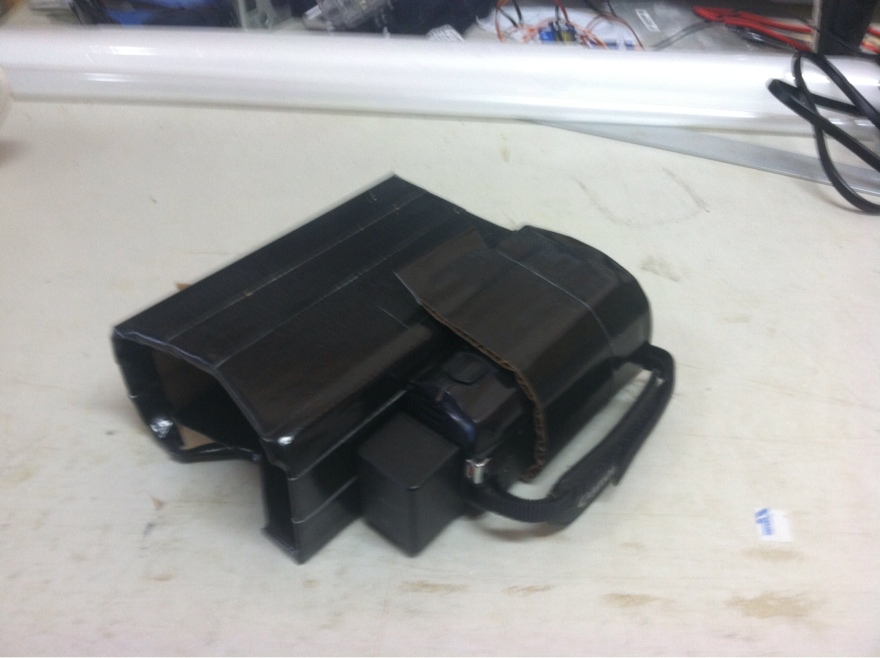
Since 2013 or so, it’s almost impossible to find a consumer-oriented camcorder with a traditional eyepiece-style viewfinder (optical or digital). Almost all of them use some sort of small screen to display what’s being captured. These have a few downsides: 1) they’re hard to see in bright sunlight 2) they have a small but perceptible amount of lag between what’s happening “in reality” and what’s showing on-screen and 3) they’re very lightweight and prone to getting buffeted badly even in a relatively light breeze. My solution to all of these problems was a simple cardboard enclosure I built to contain the camcorder, providing the shade needed to see the display while also giving more to “hang onto” and stabilize the camera while filming.